
Custom Chik Shades

Last year I bought Gil Schafer’s book, “A Place to Call Home,” and I was captivated by the home that he and Rita Konig designed together - the Mill Valley House. Throughout the home are these incredible woven shades - unlike any I had seen before. I searched for days to find similar shades and had very little luck! All I could uncover was that they are called “chik shades” or “matchstick shades” and they are made in India.

Chik shades inside the Mill Valley House
Source: https://gpschafer.com/portfolio/in-the-country/new-house-in-mill-valley
Low and behold, I found them on Etsy! The Etsy shop, BNJN, was brand new and located overseas, so I was a little skeptical about purchasing them. However, once I contacted the shop owner, Omi, for more details and began communicating with him via the Etsy app messenger I felt way more confident about placing an order.
Pattern Options
Omi’s Etsy shop BNJN has a few different patterns of chik shades. I opted for the exact ones I fell for in the Mill Valley house - the Gilas pattern. There are also diamonds, vertical lines, a honeycomb pattern - great options. The best way to ensure that Omi knows exactly which design you want is to message him a screenshot.

Chik shades inside the Mill Valley House
Source: https://gpschafer.com/portfolio/in-the-country/new-house-in-mill-valley
Color Options
There are also a few color options for the threading and fabric edging. I opted for white, but you can choose from black, brown, orange, blue, green, etc. I’m sure that if there’s another color you are looking for Omi will hook you up! He did share with me though that the other colors are more likely to become faded over time by the sun. I appreciated the heads up because I was considering the black threading at one point.

Sizing
As far as sizing goes, they are all made to order so you can have them made to the exact size you need. The pricing is all based by the exact size, so after you measure and provide Omi with the measurements he will quote you a price.
Measuring
First you have to decide if you want the shades to be inside mount or outside mount… what’s the difference you ask…

Inside Mount
Notice how the shades are hung inside the window frame
Outside Mount
Notice how the shades cover the doorframe
How to measure…
Use a measuring tape to measure the exact length and width that you want the shade to be. Measure two or three times to make sure you have the correct measurements because they cannot be trimmed once you receive them! When you send the shop the measurements make sure that you note the unit of measurements (inches or centimeters). I sent mine in inches and Omi converted them to centimeters.
Ordering
All of BNJN’s orders are processed through their Etsy storefront. Once you have decided on the pattern, color, size, and quantity, message Omi the information and he will prepare a quote for you for the product and for shipping. Once you approve the quote, Omi will set up a custom listing for you to purchase on Etsy.
I’ll be honest and share that they are not super inexpensive - they were a little bit of a splurge for me, but they are unique and custom, so they are so worth it in my book! From the time I ordered them to the date that they were delivered was about three weeks. Omi will give you a timeframe, and if not - ask! They are custom made and shipping from overseas, so be patient!
Installation
The shades will come read to hang. The only thing you will need to hang them are tiny eye-screws. I had them on hand, but a pack from Home Depot is only a few dollars.
Hold the shade up to the inside of the window frame (for inside mount) and make a pencil mark where each of the small strings on the shade touch the window frame.
Make sure the pencil marks look even and drill holes just large enough for the threading of the eye screws.
Twist the eye screws into the holes.
Tie the small string to the eye screws.
Done!

For outside mount installation, you essentially follow all of the same steps, but you may want to use a level to ensure that your pencil marks are straight.
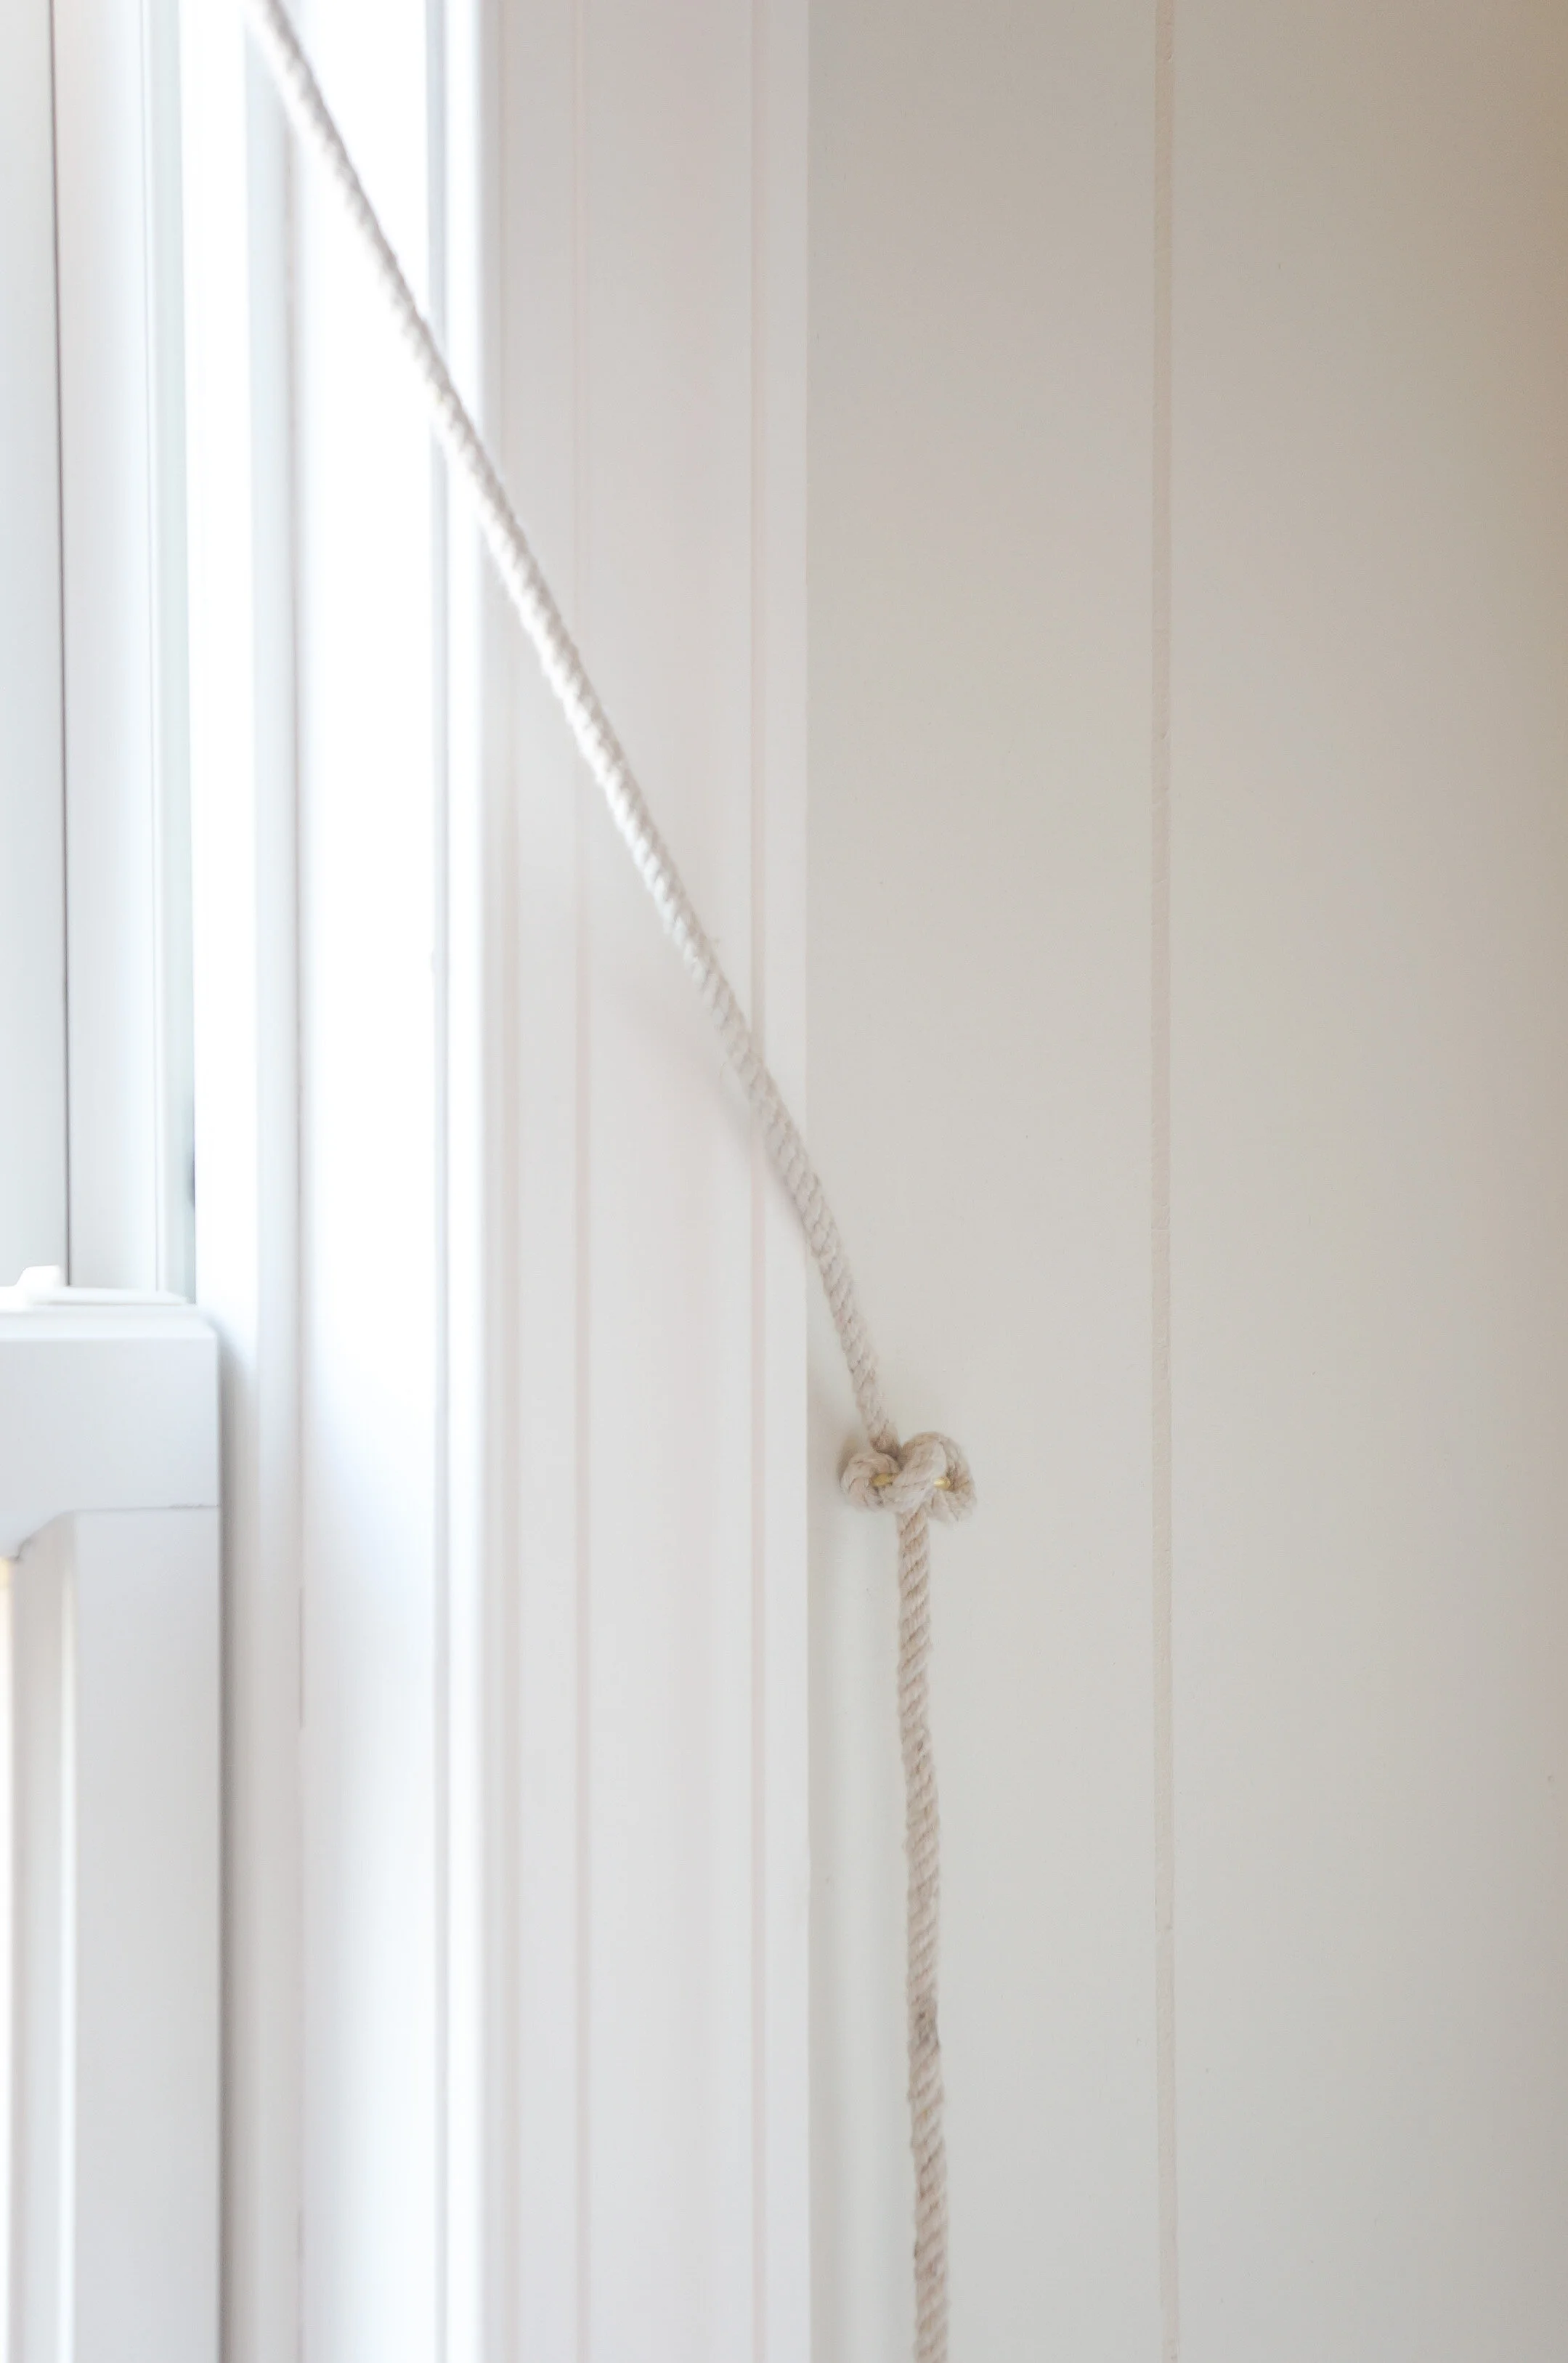
Tie Backs
I also made a tie back for the long pull string with a brass cup hook.
Functionality
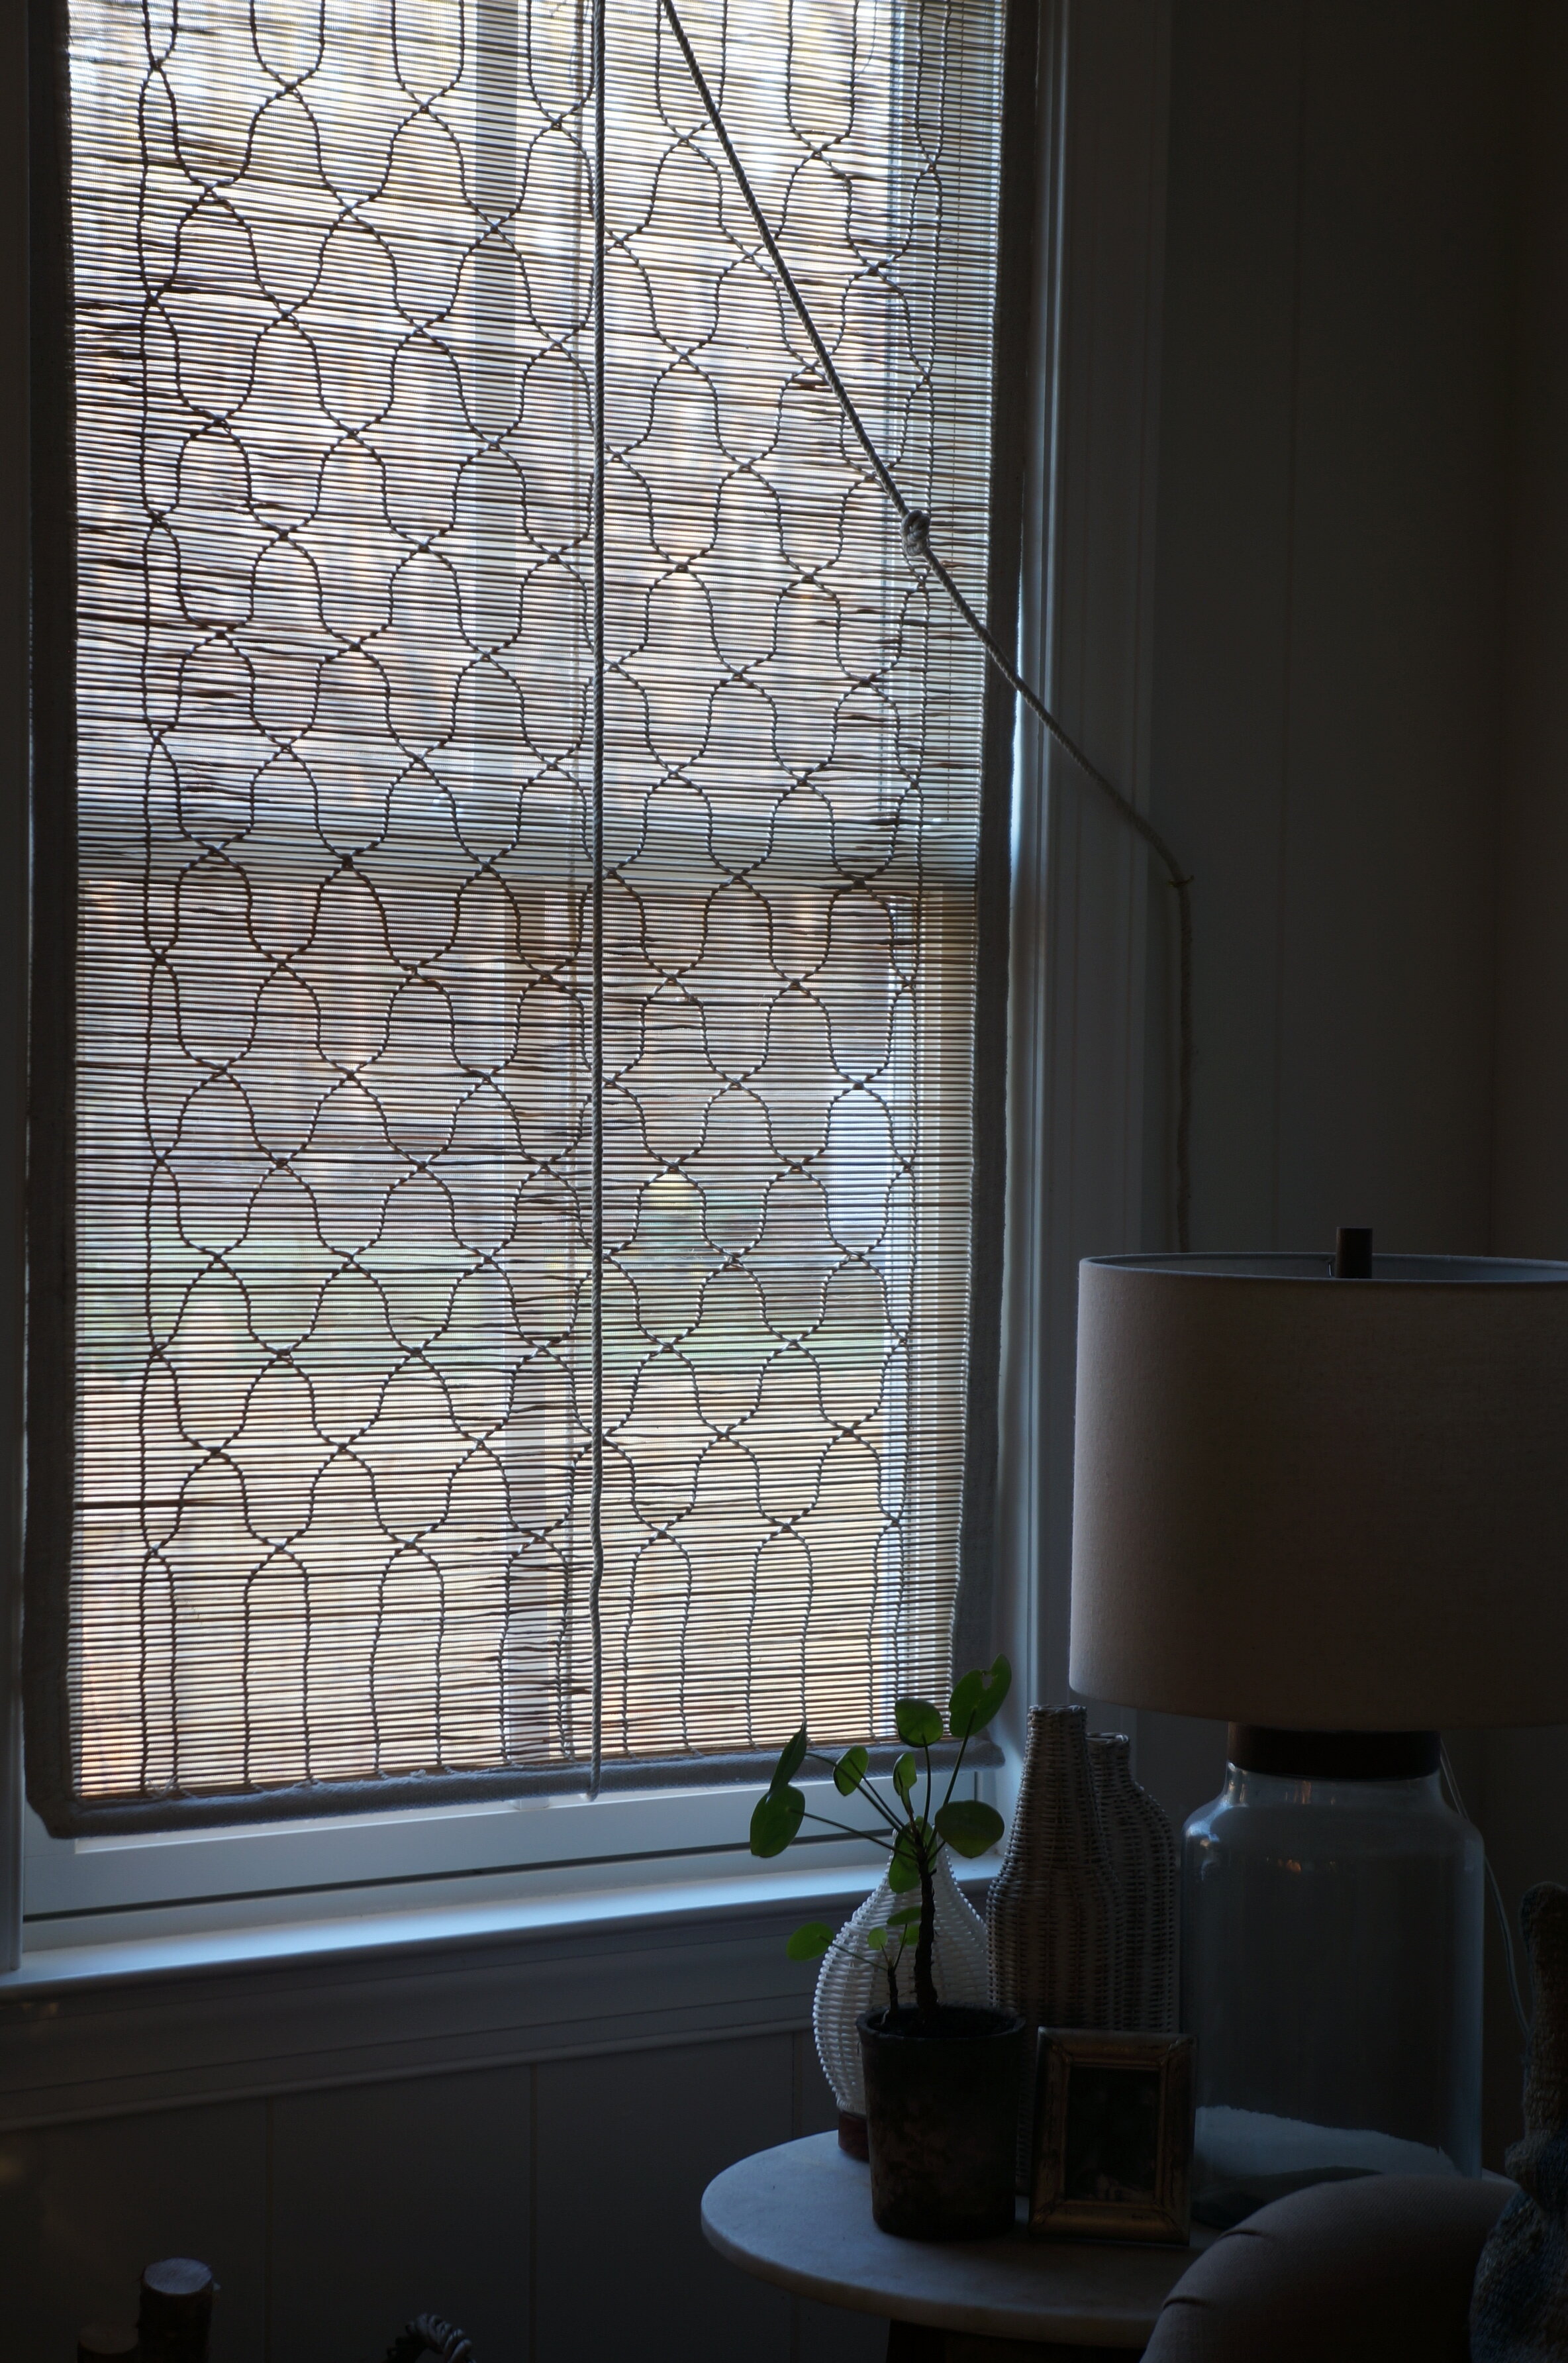
These shades are designed to be light-filtering - not black-out or full privacy. We keep them up most of the day, and then let them down at night for privacy while we hang out in the living room. You cannot see right through them from the outside at night, but they are certainly not privacy shades - light, shapes, and shadows can be made out through them. Our living room doesn’t get a ton of light as it is, but if Bob decided to take one of his beloved mid-day naps in there, these shades darken the room just enough.
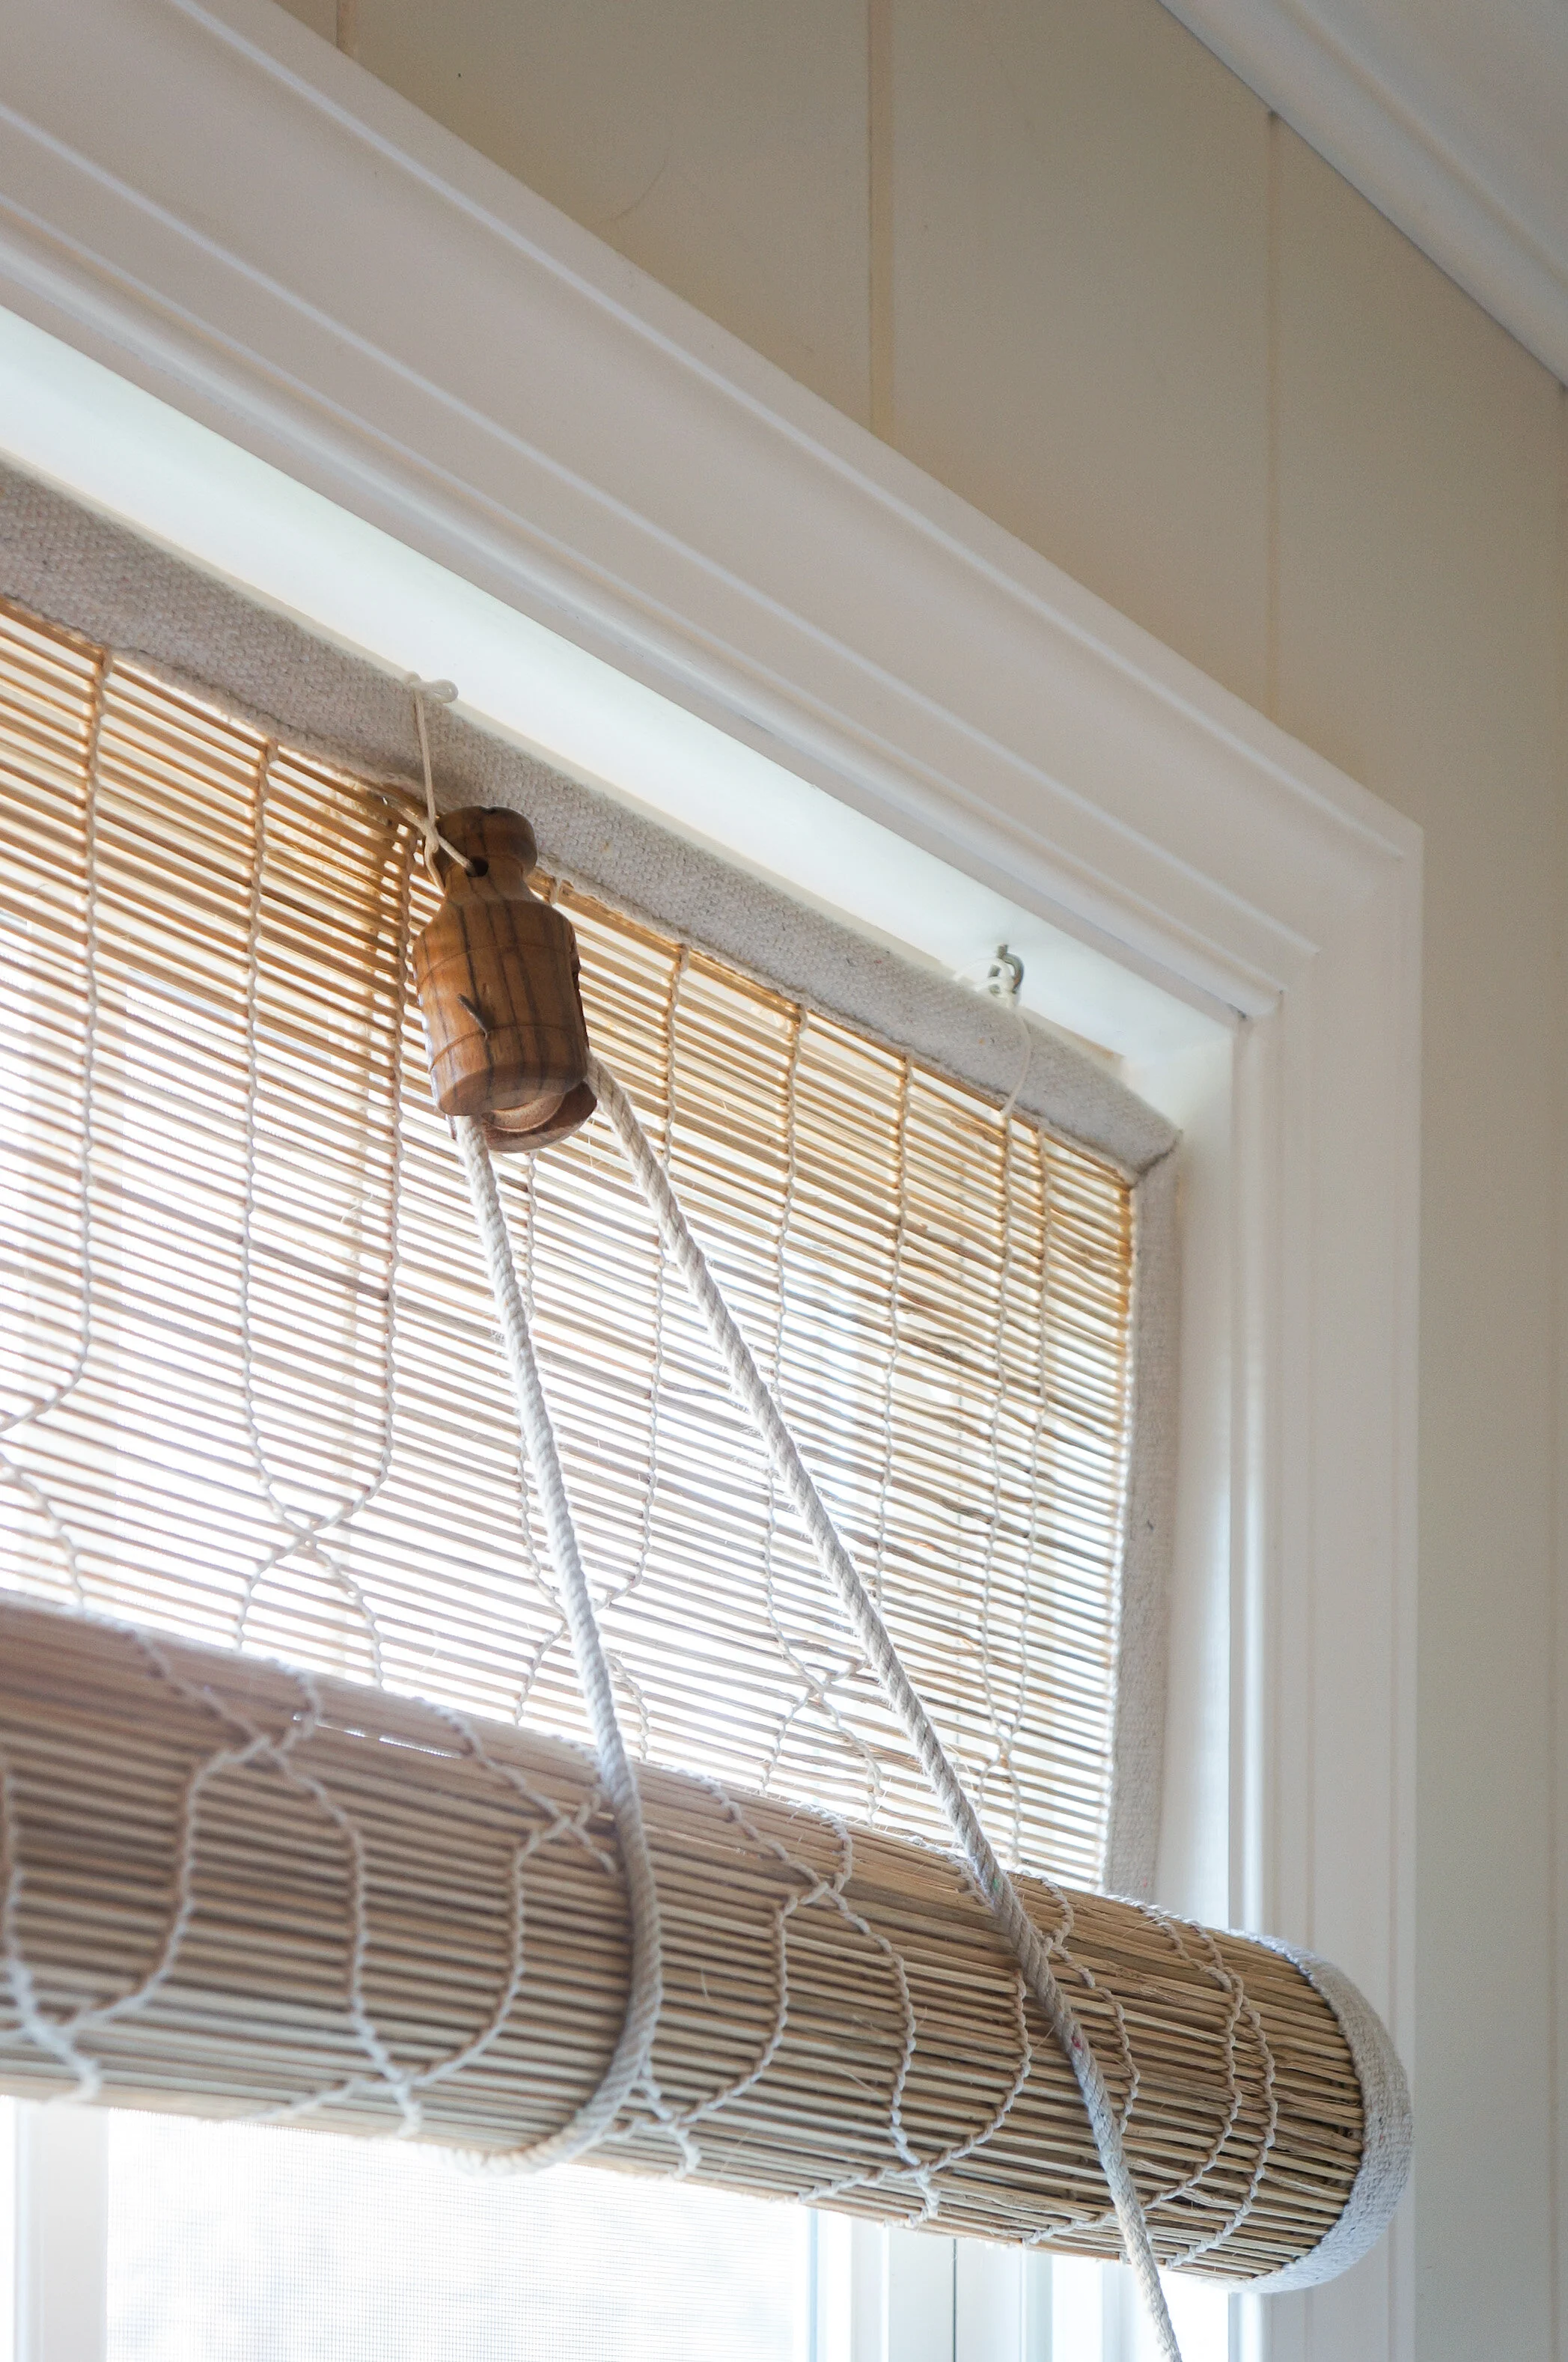
Lowering and raising them is done with the cute wooden pulley that they come with. The pulley may actually be my favorite part! To keep them raised they need to be tied off - that is where my little cup-hook tie back comes in.
Overall, I am so happy with these shades, and look forward to using them in more rooms in my house. I love when housewares are so beautiful and so functional at the same time!
I know that so many of my friends and readers were excited about these shades and interested in ordering them, so if you get some for yourself, please let me know!
xo,Dana