
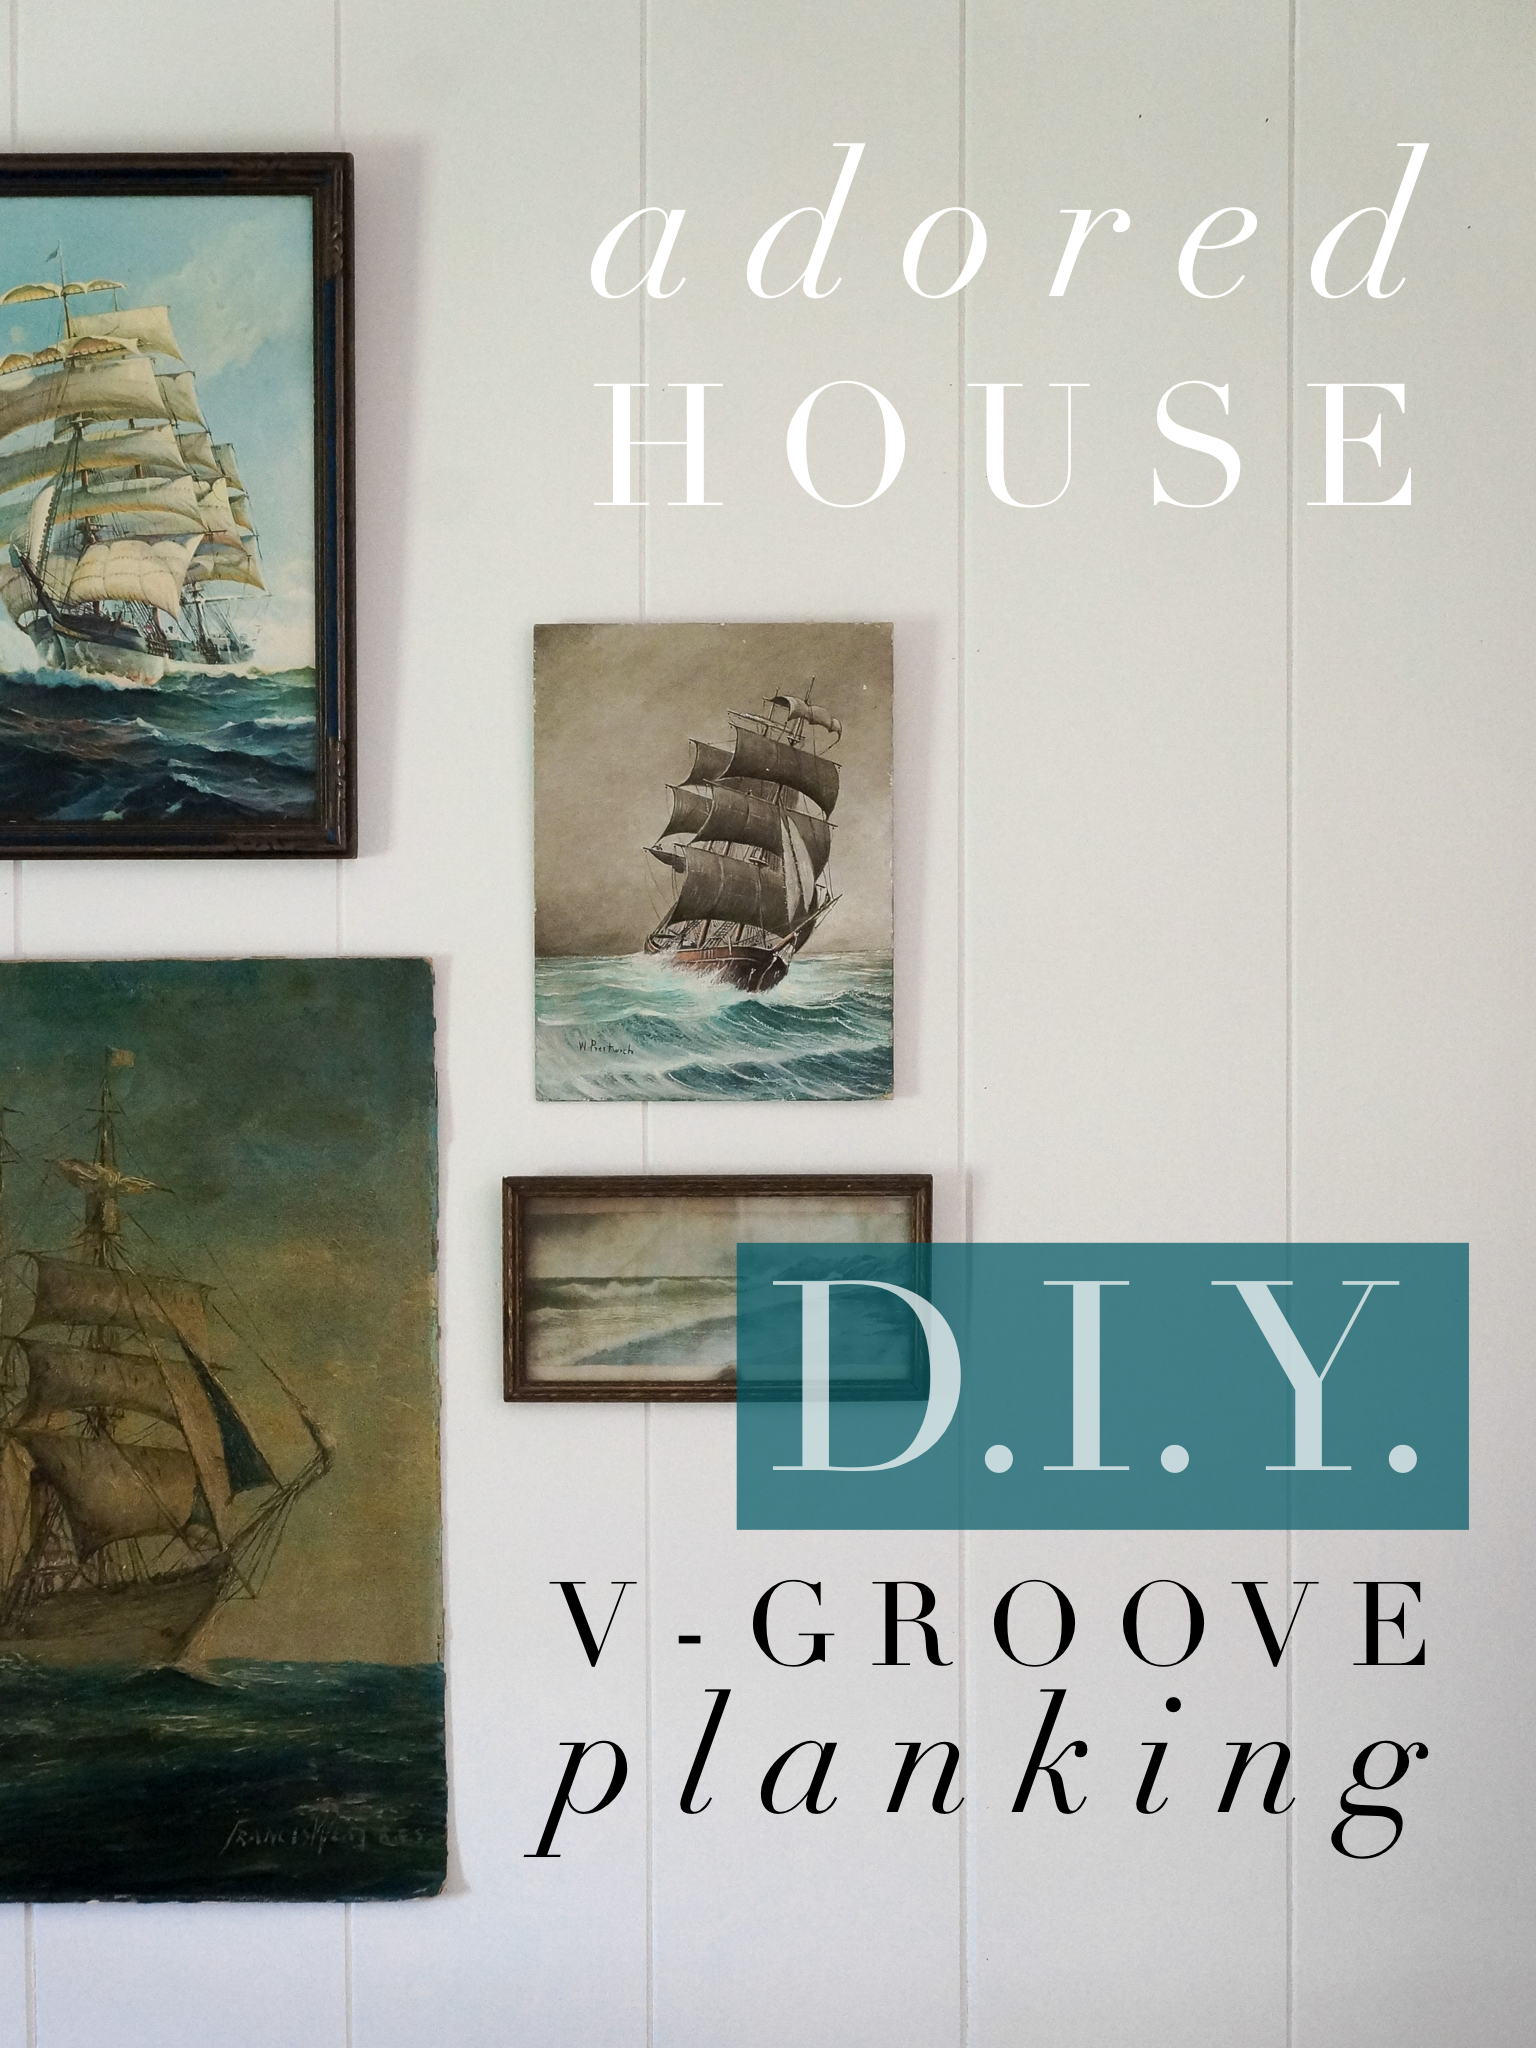
Faux Tongue & Groove Paneling / ORC 2020 Week 2

I love millwork on a wall. It gives so much more character to a space than plain drywall walls! I always wanted vertical tongue and groove walls in my living room, but when I priced them out I realized how expensive they were. I didn’t give up the dream, and I figure out how to get the look for less!
There are a lot of “shiplap” tutorials out there, but this tutorial gives you the authentic looking V-groove that makes a big difference in the finished look! Trust me!
I originally tested out this idea in my guest room/office, and perfected it for my One Room Challenge living room!
Here is the tutorial (long written version and quickie video)… as always, please let me know what you think!
Tools: (affiliate links)
Circular Saw
Variable Speed Multi-Purpose Oscillating Tool or Jig Saw (for cutting out outlet holes and such)
Ruler
Tape Measure
Cordless Drill
Pencil
Palm Sander
Brad Nailer
Sandpaper
Materials:
Underlayment plywood (one sheet will cover a 4ft x 8ft) section
1 - straight, 1x2 board to use as a jig (must be perfectly straight and the same length as your board)
Wood screws (for jig)
Fine grit sandpaper
Brads
Wood Plastic putty
Painter’s Caulk
Primer
Paint
Steps:
You will need a flat, sturdy work surface. I used a folding table and pine boards to level it out.
Making the jig : take the straight 1/2 board and pre-drill a hole for a wood screw every foot.
Measuring the planks: determine how wide you would like each “plank” be on your sheet. The width of each plank should be divisible by the width of your underlayment board so that board is fully utilized. For example, my board was 48” wide so I chose 8” wide planks. (I have also done 6” planks). If you were to choose 5” wide planks, you would not have excess wood to cut off and the underlayment sheet would not be fully utilized.
Next, determine how far back the router bit is from the edge of your router and how deep you would like your groove to be. The best way to do this is by testing it out on a piece of scrap wood. The distance from my bit to the edge of the router was 3” and the depth was 4/64. How deep your groove can go is dependent on the thickness of the wood.
Knowing that my router bit is 3” from the edge of the router I made a pencil mark at 3” on both short edges of the board. This will be the line at which the jig will sit for the edge cut.
From that 3” mark, continue to make pencil marks that are the width of your desired plank. I made 8” planks, so my pencil marks were: 3”, 11”, 19”, 27”, 35” and then 3” in from the opposite edge. Measure out the same distances on the opposite short side.
Now, place your jig on the 3” marks, secure to work surface with quick grip clamps, and screw into the underlayment through the pre-drilled holes. ( I cannot stress how important it is to have a flat surface to work on!)
Ensure the the jig and underlayment are secure. Turn on your router and gently lead it onto the underlayment, pushing the edge of it to the jig, and holding it flat to the underlayment. Drag router from one end to the other.
Make a second pass with the router on the same line to ensure a smooth, even groove.
Continue steps 6 - 8 on all measured lines until the sheet is totally planked.
Lightly sand grooves just to release any splinters.
Trim the planked sheet to the desired height with a circular saw and cut out any outlet holes with a straight cutting saw.
Installation & finishing: Install the sheet with a brad nailer.
Sand all screw holes from jig, and fill with wood putty. Let dry, then sand.
Caulk all joints with painters caulk. Use a caulk tool or an old credit card to get a nice clean groove between sheets. Let dry.
Wipe surface down with a damp rag. Let dry
Prime and paint! Done! Hi-5!
Tips:
Shop around for underlayment. Some stores have nicer quality (that looks like birch ply) than others.
Buy a thicker piece of plywood to place under your underlayment during the routing process to ensure that the surface is flat.
Finish the look with crown moulding.
and now for the video…
I have the last of my paneling to install tonight!
That’s it for this week… be sure to check out all of the other ORC participants !